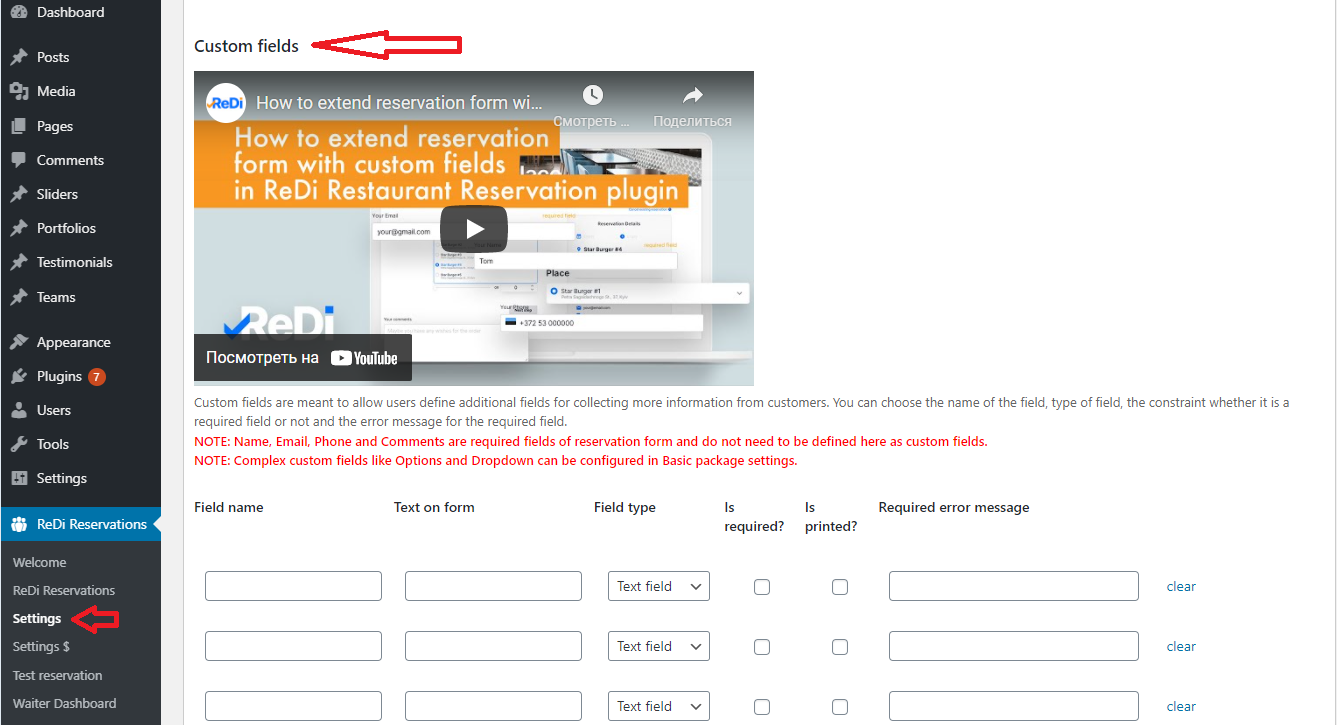
On this page, we will show you how to extend the reservation form with custom fields. Custom fields allow you to collect additional information at the time of booking. By default, the form prompts the client to provide the following information: name, phone number, email, and comments.

Therefore, using custom fields, you can collect additional information that you need. For example, the number of the table or room wishes for serving or whether you need to put a high chair, and so on.
For your convenience, we also provide a video tutorial on this topic:
| Widget Connector | ||||||||||
|---|---|---|---|---|---|---|---|---|---|---|
|
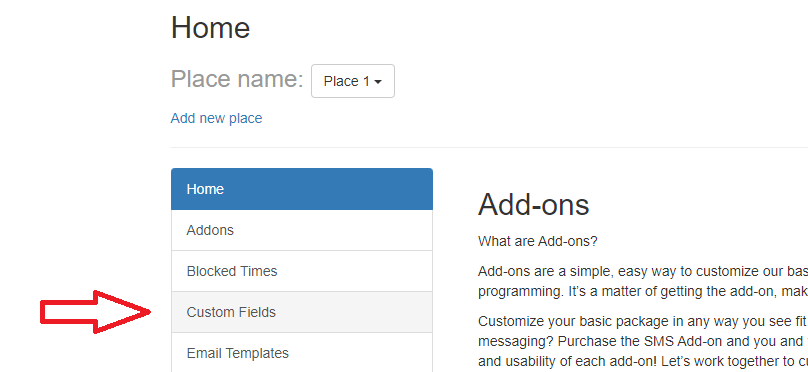
To get started please log in with your WordPress account and choose the Settings menu in ReDi Reservation section.
Let's start with simple fields.

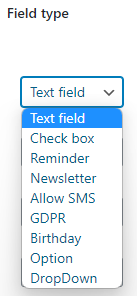
There are simple options such as text field and checkbox, as well as more complex ones.
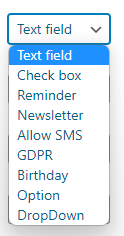
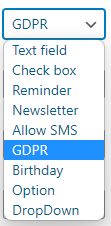
Below is the table with all possible Custom Field types and their purposes:
Type | Comments |
|---|---|
Text field | Text field is a field in which your customer will be able to write an answer to something that the restaurant needs to know in advance. For example, a |
customer's postcode or allergies. | |
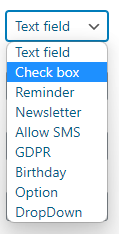
Checkbox | It’s a small box which will appear on the reservation form, into which a tick or other mark can be entered by the restaurant clients as the response to a question. |
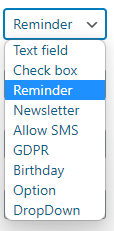
Reminder | With help of this feature, you can ask the client if he needs a reminder of the reservation by E-Mail or phone. |
 Then there is the
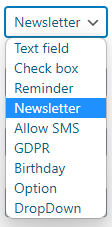
 Newsletter | The opportunity to ask the client, if he would like to subscribe to the restaurant's newsletter |
. |
Allow SMS |
This option asks whether the client allows contacting him via SMS. |

GDPR |
“General Data Protection Regulation”, |
with help of this function you can ask the client if he agrees with the terms of use. |
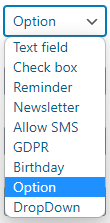
Option |
This allows the client to |
select from several options provided. |
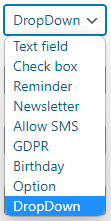
DropDown | The dropdown allows the same as “Option”, only options will be displayed as a dropdown menu. |
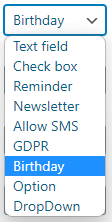
Birthday |
This feature can be used to ask the customer for his date of birth, which can in turn be used for advertising using the Mailchimp integration that we offer as an Addon. |
Some more of the main fields that customize custom fields:


The required error message is an error that will be displayed in case the client did not provide the required information.
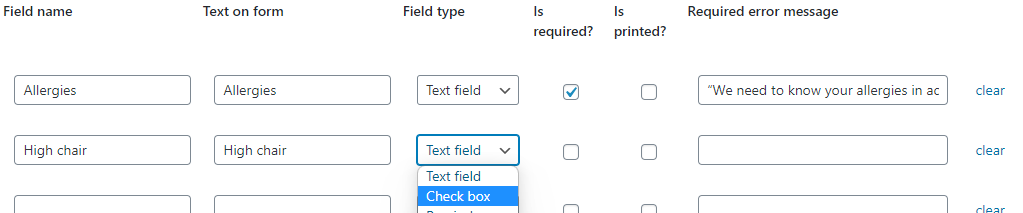
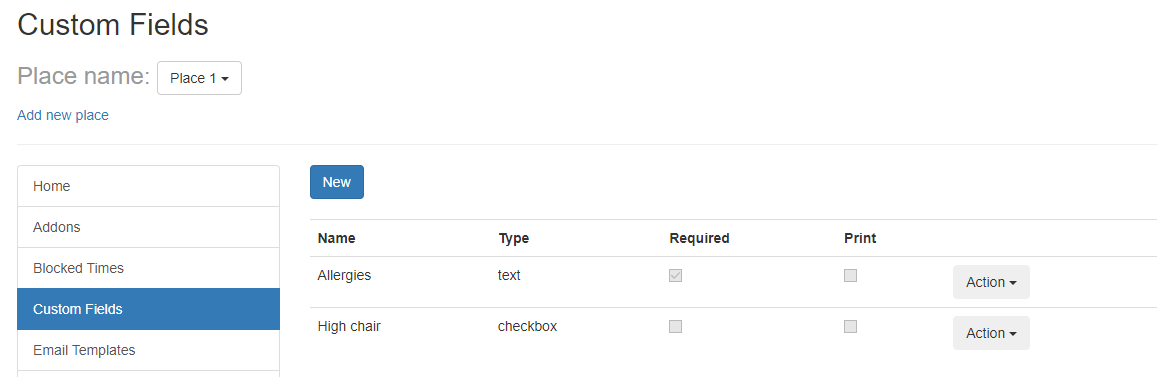
Let's start with a regular Textfield. For example, you need to know about your client's allergies in advance. In order for a new line to appear, you need to enter the field name, then what will be displayed on the client, and select the desired field type. In our case, this is Textfield.

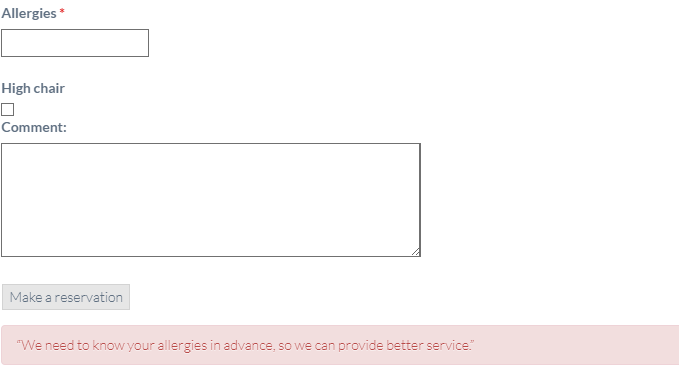
Also, let’s put this field as the required fields and add the required error message - “We need to know your allergies in advance, so we can provide better service.”

Let's try with the check-box right away, let's say you need to know if the client needs a High Chair, for this, you need to fill the fields out like is shown on the picture and choose the “check-box” from the dropdown menu.
Remember to save your changes by scrolling till the end of the page and clicking on the “Save”-button. Now let's go to your reservation form and see the changes.
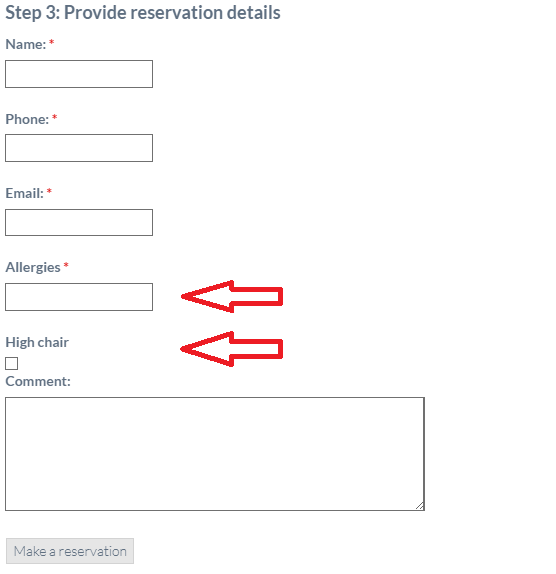
As you can see, new fields in the reservation form have appeared. If you now leave the mandatory questions unanswered, you will be given an error with the text that you entered earlier.
Using the same logic, you can customize the rest of the fields such as “Reminder”, “Newsletter”, “Allow SMS”, “GDPR” and “Birthday”, “Option” and “Dropdown“ for the needs of the restaurant, they will also appear on the reservation page in the same way.
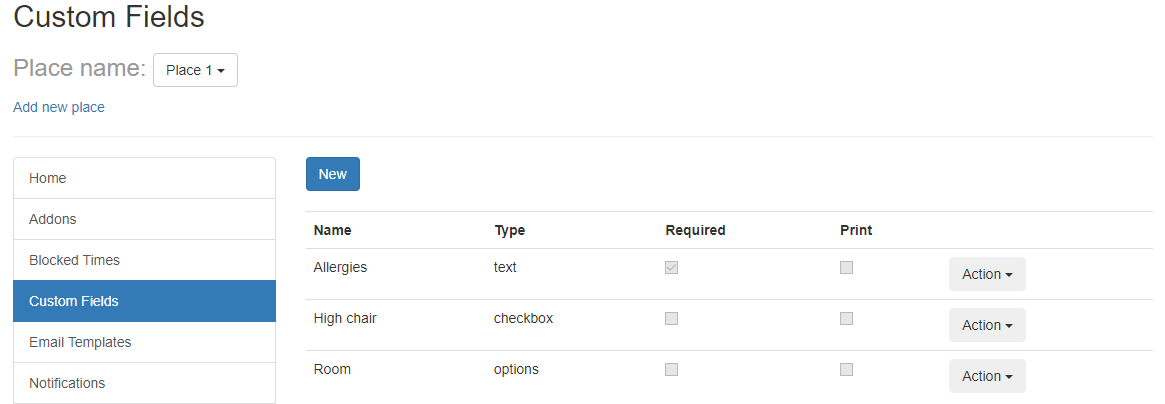
An extended version of custom fields is available for customers who use Basic-Package and is located accordingly in the advanced settings, in the menu under Custom fields.
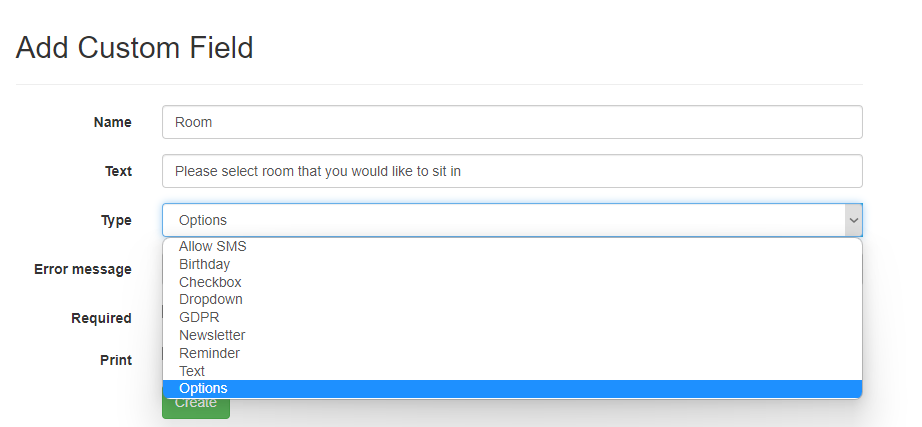
It uses a similar system to the one we saw earlier. Here is a new feature in which you can offer the customer a choice of several options. To do this, write the required text in the appropriate fields. Let's say you are asking visitors to choose a room they would like to eat in. Next, select the required field type, which will be displayed in the reservation form. In this case, select "Options".
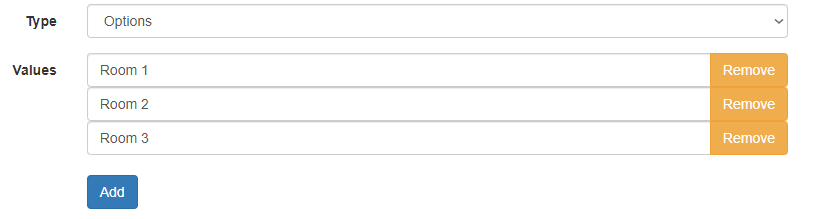
Next, fill in the fields with information, in our case we write “Room 1”, “Room 2”. “Room 3”.
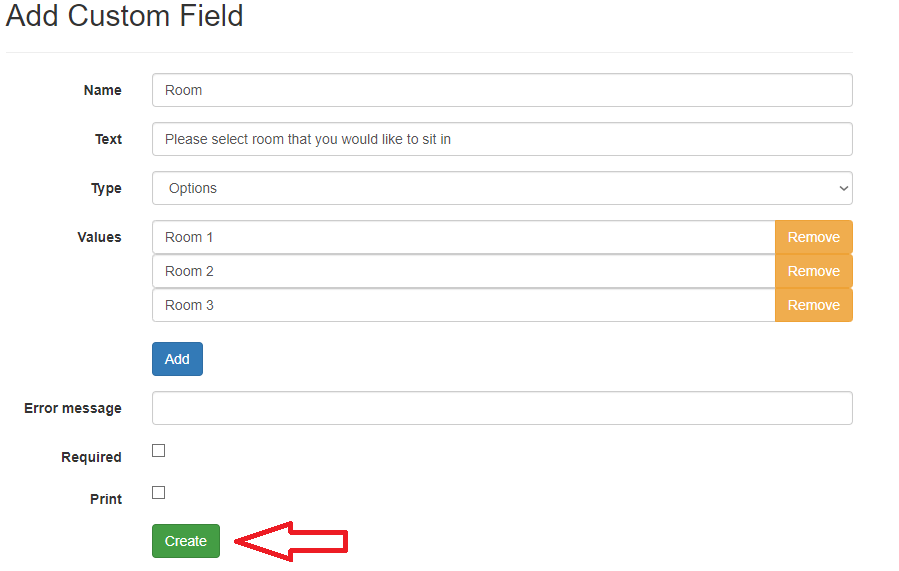
Now click on “create” and check how the reservation form has changed.
As you can see, a new field has appeared.
You can do a dropdown question in the same way. To do this, you need to repeat all the same steps, but select “dropdown” as the field type.