Let us introduce you to the notification system. We will briefly go through all settings and explain it’s role.
We will start with the time zone, it's a field where you can select the local time. This will determine the time zone in which messages from the restaurant will be sent.

The next option allows you to add a calendar as an attachment to an email. You can click on the calendar and then an event will be created in the calendar in Outlook or iPhone.
The next feature available is the “SMS for reservation confirmation”. The message will be sent to the client after the reservation is made to the number specified in the reservation. This feature requires an add-on, as well as an additional field in the reservation form in which your client agrees to receive SMS. If you want to use this feature make sure to purchase the Addon, you can read about that here.
SMS reminder will send your client the reminder about the upcoming restaurant visit to the phone number that was specified in the form. The SMS reminder requires the custom field on your reservation form for clients' consent to receive messages.
The same goes for the E-Mail reminder, with the difference that the E-Mail will be sent.
Reminder time here you can set the time before which your client will receive a booking reminder.

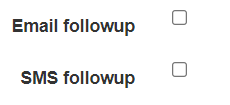
E-Mail followup and SMS follow-up are messages that are sent after visiting a restaurant. In order for this function to work correctly, you need to indicate in the Waiter Dashboard that the client has arrived. This can be done here.
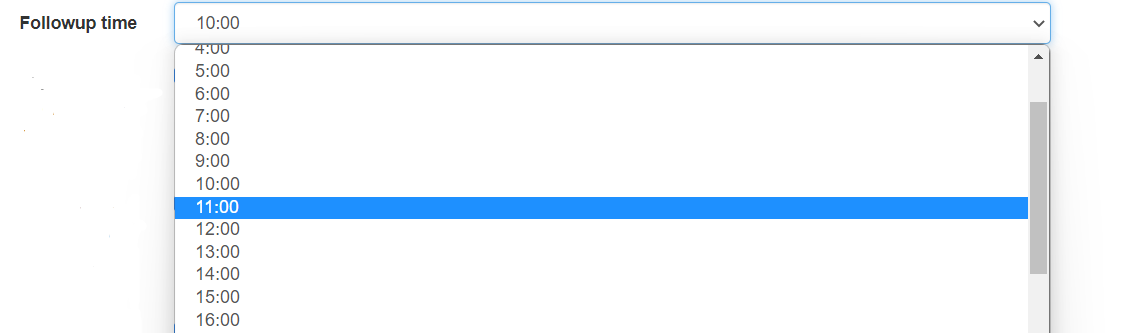
The next field is the time after which the follow-up message will arrive. There are 2 options: the first is the message will come the next day at a specific time that you can choose.
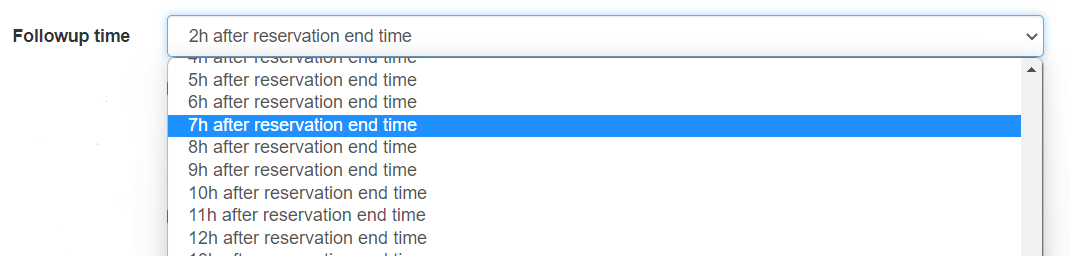
The second option - you can choose how long after the completion of the booking a message will be received.
To use the followup messages you will need to mark the reservation as “arrived”. This can be done in the Waiter Dashboard.
The following are three options that can be used to disable internal messages.
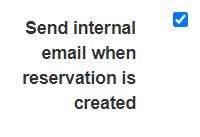


You can turn off the messages that are sent to the restaurant when a new reservation is made, when a reservation is changed, and when a reservation has been canceled.